
When to Use a Silicone Nail Drill Bit in the Finishing Step
When to Use a Silicone Nail Drill Bit in the Finishing Step
When to Use a Silicone Nail Drill Bit in the Finishing Step

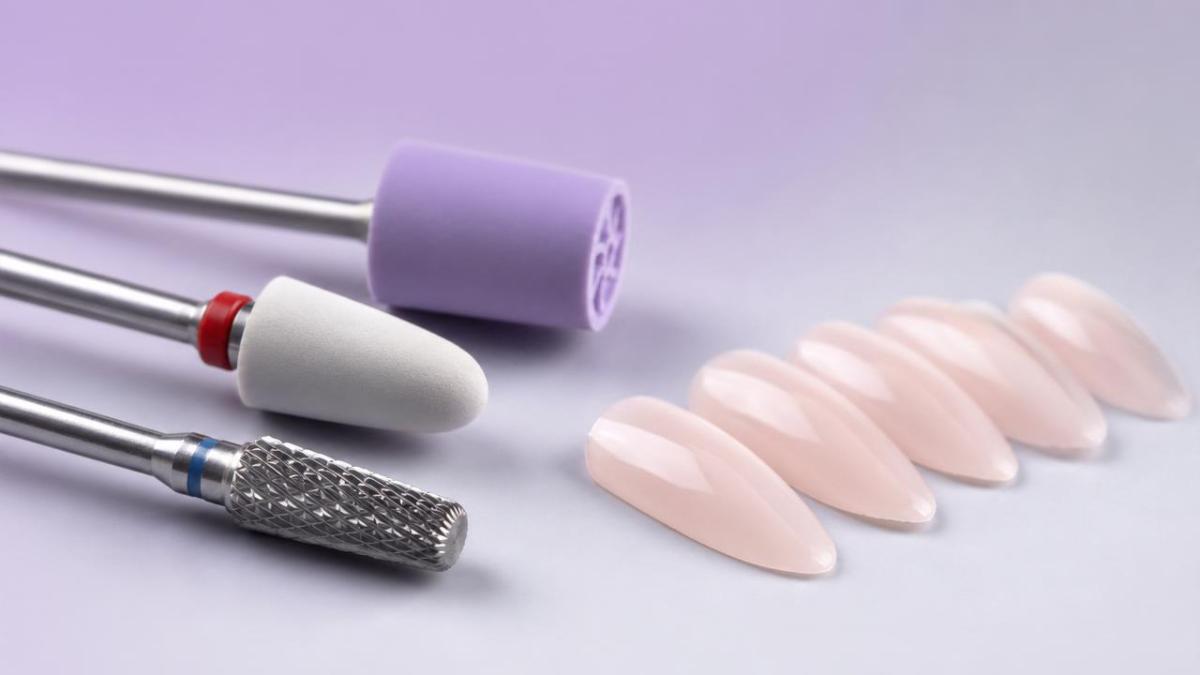
A silicone nail drill bit is often the final touch that turns a standard nail service into a smooth, refined result.
For better surface finishing and fewer scratch marks, timing matters more than pressure.
Used at the right moment, a silicone nail drill bit improves comfort and leaves a cleaner nail surface.
This guide explains where the finishing step begins, what the tool should correct, and how to use it without overworking the nail.
What the Finishing Step Really Means
The finishing step starts after the main shaping, bulk removal, and cuticle cleanup are done.
At this stage, the nail already has its form.
What remains is refinement.
That usually includes smoothing light file lines, blending product edges, and preparing the surface for top coat or buffing.
This is exactly where a silicone nail drill bit becomes useful.
Unlike aggressive removal bits, silicone polishers are made for controlled contact.
They do not reshape heavily.
They refine what is already close to finished.
Best Moments to Use a Silicone Nail Drill Bit
A silicone nail drill bit works best in very specific moments.
Using it too early wastes time.
Using it too late may limit the final result.
- After gel or acrylic shaping, when only faint lines remain.
- Before top coat, when the nail surface needs a cleaner, more even finish.
- Around the cuticle area, when product transitions feel slightly rough.
- On natural nails, when light smoothing is needed without deep abrasion.
- Before final buffing, when shine depends on a more uniform texture.
A good rule is simple.
If the nail needs correction, use a stronger bit first.
If the nail only needs refinement, the silicone nail drill bit is the better choice.
How It Improves Surface Quality
The main value of a silicone nail drill bit is finish quality.
It softens visible marks left by coarser tools.
It also helps reduce uneven reflection on the nail surface.
That matters because even tiny scratches become obvious under glossy top coat.
A smoother surface supports three visible improvements:
- Cleaner light reflection on gel, acrylic, or natural nails.
- Better product blending near sidewalls and cuticle lines.
- Less risk of roughness that clients notice by touch.
In practical work, this means less rework.
It also means the final result looks more intentional and more professional.
When Not to Use It
A silicone nail drill bit is not a universal answer.
It should not replace heavy-duty shaping or removal tools.
Avoid it in these situations:
- Thick gel polish still needs bulk removal.
- Acrylic structure is uneven and needs deeper reshaping.
- The surface has large ridges or product overflow.
- The nail plate is already thin or heat-sensitive.
In those cases, start with a stronger tool and save the silicone nail drill bit for the final pass.
This sequence protects efficiency and prevents unnecessary friction.
Pairing It with the Right Bit Before Finishing
The finishing stage works better when the previous step is clean.
That is why many technicians pair a silicone nail drill bit with a carbide bit earlier in the process.
For example, high-hardness carbide tools handle filing, shaping, and gel removal more efficiently.
Then the silicone nail drill bit takes over for smoothing and polishing.
One option often used in nail care and nail art is First-rate Quality Tungsten Carbide Nail Drill Bits Best Coating Manicure Remove Gel Nails Accessories.
Its tungsten steel and high quality alloy support high hardness and excellent grinding efficiency.
That makes it useful for removing dead skin, tackling gel polish, and shaping nails before the final smoothing step.
This kind of workflow is quieter, more stable, and easier to control.
Speed, Pressure, and Contact Time
Technique matters as much as tool choice.
A silicone nail drill bit should glide, not press.
Too much pressure can create heat and dull the polishing effect.
A few practical habits help a lot:
- Use light, even passes instead of staying in one spot.
- Work at moderate speed that feels stable and cool.
- Check the surface often under direct light.
- Stop once the lines are softened, not erased by force.
The goal is refinement, not material removal.
That small mindset shift usually improves results immediately.
Common Finishing Problems It Solves
Many finishing issues are minor, but they affect the final look.
A silicone nail drill bit is especially helpful for these common problems:
- Fine scratches after carbide or hand filing.
- Slight roughness near the apex transition.
- Visible product edges close to the cuticle.
- Uneven feel on natural nail buffing work.
- Surface dullness before polishing or top coat.
From a workflow perspective, this tool supports consistency.
More importantly, it helps finish faster without sacrificing detail.
How Quality Affects the Final Finish
Not every bit performs the same way.
Low-quality tools wear unevenly and reduce control.
That often leads to inconsistent pressure and less predictable finishing results.
Reliable supply also matters for large-volume work.
Wuxi Yaqin Trading Co., Ltd. focuses on producing and exporting high quality abrasive products for global markets.
Its QC system covers raw material purchasing, production, and packing.
The company has passed ISO9001:2000 certification and supports one-stop production-to-delivery service.
For OEM and ODM projects, that kind of process control helps maintain durability, stable grinding performance, and better finish quality.
A Simple Decision Guide for Daily Work
If choosing the right step still feels unclear, use this quick guide.
This approach keeps each tool in its strongest role.
It also reduces over-filing and helps protect the nail surface.
Final Takeaway
A silicone nail drill bit should be used when structure is complete and only refinement remains.
That is the moment when it delivers the most value.
It smooths light marks, improves polish readiness, and makes the final surface feel more finished.
For stronger prep work before that stage, tools such as First-rate Quality Tungsten Carbide Nail Drill Bits Best Coating Manicure Remove Gel Nails Accessories can support efficient shaping and removal.
Used together in the right order, both tools help create a smoother, cleaner, and more professional nail finish.
If the goal is a better finishing step, start by checking timing, pressure, and the condition of the surface before the silicone nail drill bit touches the nail.
News List
- Preventing Gouges and Uneven Filing With Small Barrel Nail Drill BitsSep 20, 2026
- How Diameter and Grit Affect Small Barrel Nail Drill Bit PerformanceSep 20, 2026
- Can Hytos Nail Drill Bits Be Used Safely on Natural Nails and Gel Polish?Sep 20, 2026
- How to Verify Fit Between Hytos Nail Drill Bits and an E-File HandpieceSep 20, 2026
- Safe Speed Settings for Umbrella Nail Drill Bits Around the Nail FoldSep 20, 2026
- Umbrella vs Flame Nail Drill Bits: Which Shape Offers Better Cuticle Control?Sep 20, 2026
Best-Selling Products
 Cross Cut Safety Stainless Steel Tungsten Carbide Nail Drill Bits Salon Foot Use XF-C Grit for Removing Nails
 First-rate Quality Tungsten Carbide Nail Drill Bits Best Coating Manicure Remove Gel Nails Accessories
 Professional Advanced Safety Cuticle Bits Two-Way Rotate 3/32'' Carbide Tungsten 5 in 1 Nail Drill Bits
 Wholesale 5 in 1 Electric Manicure Nail Drill Bits Various Coating Cone Cuticle Bit with Rotary Cross Cut for Nail Art
 New Slant Tooth Tungsten Steel Nail Drill Bits Dead Skin Removal 5-in-1 Universal Grinding Nail Polish Head Tool Nail Drill Bits
 4.0mm Small 5 in 1 Integrated Sharpe Tungsten Nail Drill Bit Straight Teeth Gel Polish Removal
 Flame Sharp XF F M C XC Silver Safety Professional Corn Tungsten Carbide Nail Bit for Drill Machine Accessories
 Factory Direct 5 in 1 Tungsten Carbide Nail Drill Bits 6.8MM Cross Cut Safety Manicure 5 in 1 Nail Drill Bits








Please give us a message